The Pre Settlement Inspection serves as the ultimate checklist before officially committing to a property purchase. This walkthrough gives buyers the chance to confirm if the property is in the same condition as agreed upon in the contract, protecting you from inheriting unexpected damage or unresolved maintenance issues.
Think of it as your final opportunity to protect your investment before signing off and collecting the keys.
Why a Final Inspection Matters More Than Buyers Realise
Many buyers assume the property will be handed over exactly as expected. Most of the time, it is. But problems can still happen between the contract signing and the settlement date.
During the process of Real Estate selling a house, furniture removals and last-minute moving activity can sometimes cause unexpected wall damage, flooring scratches, or maintenance issues before settlement. Appliances included in the contract may no longer work. Repairs promised earlier may not have been completed properly. Even small issues can become expensive once the settlement is finalised.
A proper inspection allows you to:
- Confirm the property condition matches the contract
- Check that fixtures and fittings remain in place
- Ensure agreed repairs are completed
- Identify new damage before settlement
- Avoid disputes after ownership transfers
This process is especially important for first-home buyers who may not know what to look for during a final walkthrough.
When Should the Pre Settlement Inspection Happen?
The pre settlement inspection should take place during the final week before settlement, usually around 1–3 days beforehand.
This timing gives buyers enough opportunity to report concerns to their solicitor or conveyancer before settlement is completed.
The inspection is usually arranged through the selling agent and should never be rushed. Give yourself enough time to review every room and outdoor area carefully.
The Complete Pre Settlement Inspection Checklist
Having a detailed pre settlement inspection checklist helps ensure nothing gets missed during the walkthrough.

1. Check Overall Property Condition
Start with a general inspection of the home.
Look for:
- New cracks or wall damage
- Water stains or leaks
- Broken doors or windows
- Damage caused during the seller’s move
- Flooring scratches or carpet damage
- Signs of mould or dampness
The property should be in the same condition as when you agreed to purchase it.
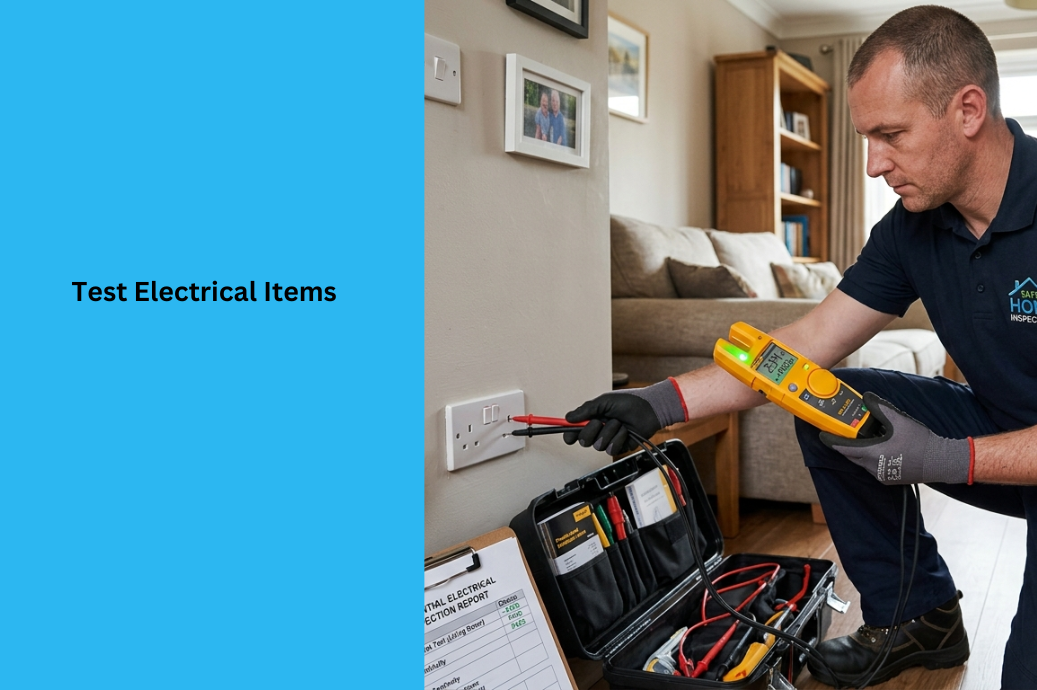
2. Test Electrical Items
Turn on and test:
- Light switches
- Power points
- Ceiling fans
- Exhaust fans
- Smoke alarms
- Garage door motors
- Intercoms or security systems
If appliances were included in the contract, check that they are functioning correctly.
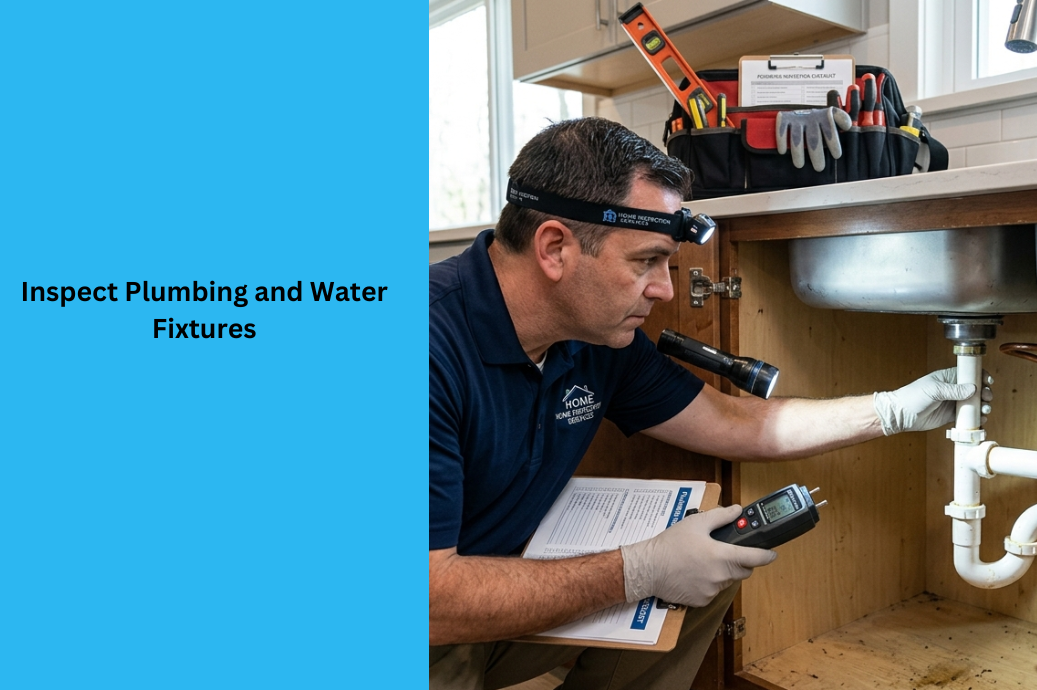
3. Inspect Plumbing and Water Fixtures
Run taps and flush toilets throughout the home.
Check:
- Water pressure
- Hot water system
- Leaking pipes
- Dripping taps
- Shower drainage
- Toilet flushing performance
Water issues can become costly quickly, so this step should never be skipped.

4. Review Kitchen Appliances
The kitchen is one of the most important areas to inspect carefully.
Test:
- Oven
- Cooktop
- Rangehood
- Dishwasher
- Built-in microwave
- Sink drainage
Open cupboards and drawers to ensure nothing has been damaged or removed.

5. Confirm Included Fixtures and Fittings
Your contract should outline exactly what stays with the property.
This may include:
- Curtains or blinds
- Light fittings
- Air conditioning units
- Built-in wardrobes
- Dishwashers
- Outdoor sheds
- TV brackets
One of the biggest mistakes buyers make during the pre inspection settlement process is assuming all visible items are automatically included.
If something appears missing, raise it immediately.
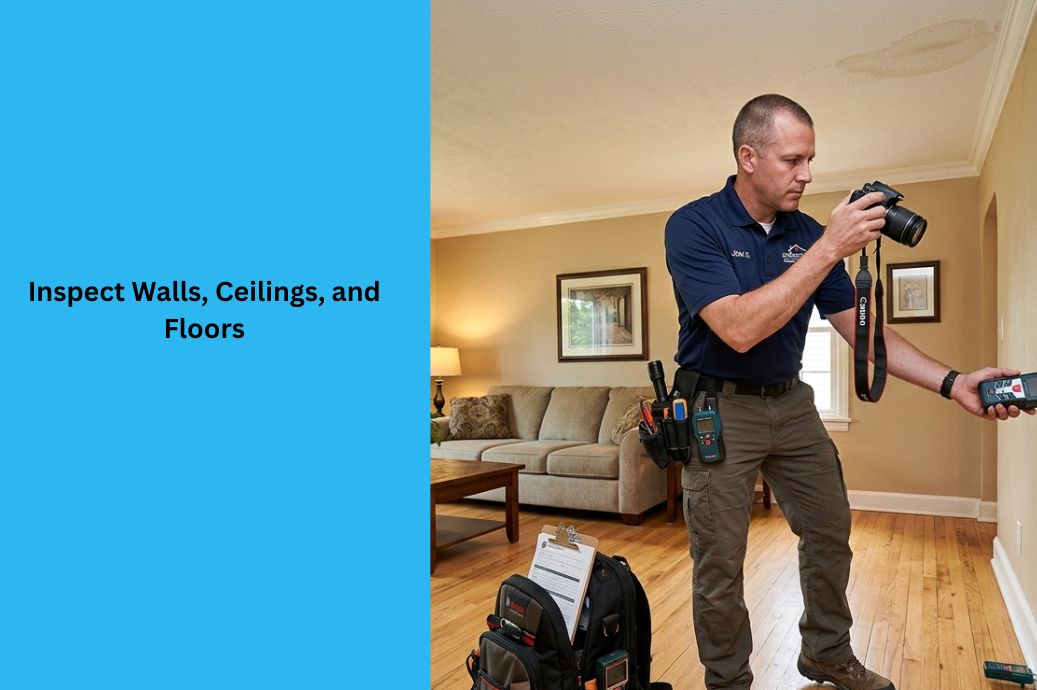
6. Inspect Walls, Ceilings, and Floors
Take your time walking through every room.
Look for:
- Fresh dents or marks
- Cracked tiles
- Bubbling paint
- Ceiling stains
- Loose floorboards
- Damaged skirting boards
Even minor cosmetic damage can sometimes point to underlying issues that need attention.
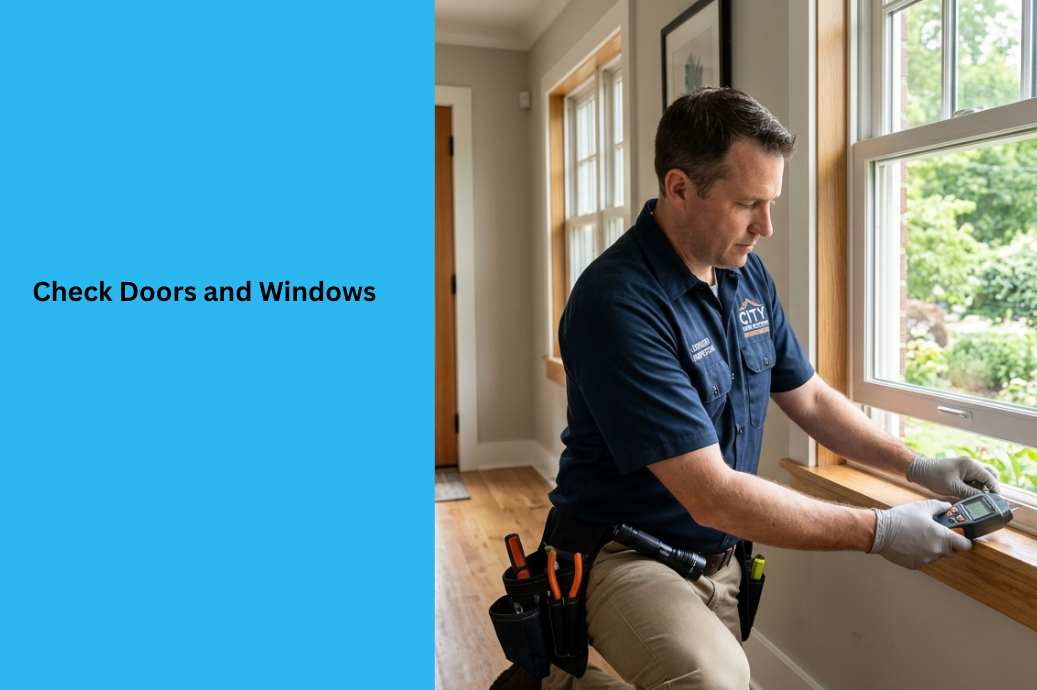
7. Check Doors and Windows
Open and close every door and window.
Make sure:
- Locks work correctly
- Sliding doors move smoothly
- Window latches are secure
- Flyscreens are intact
Because security and functionality matter just as much as appearance.
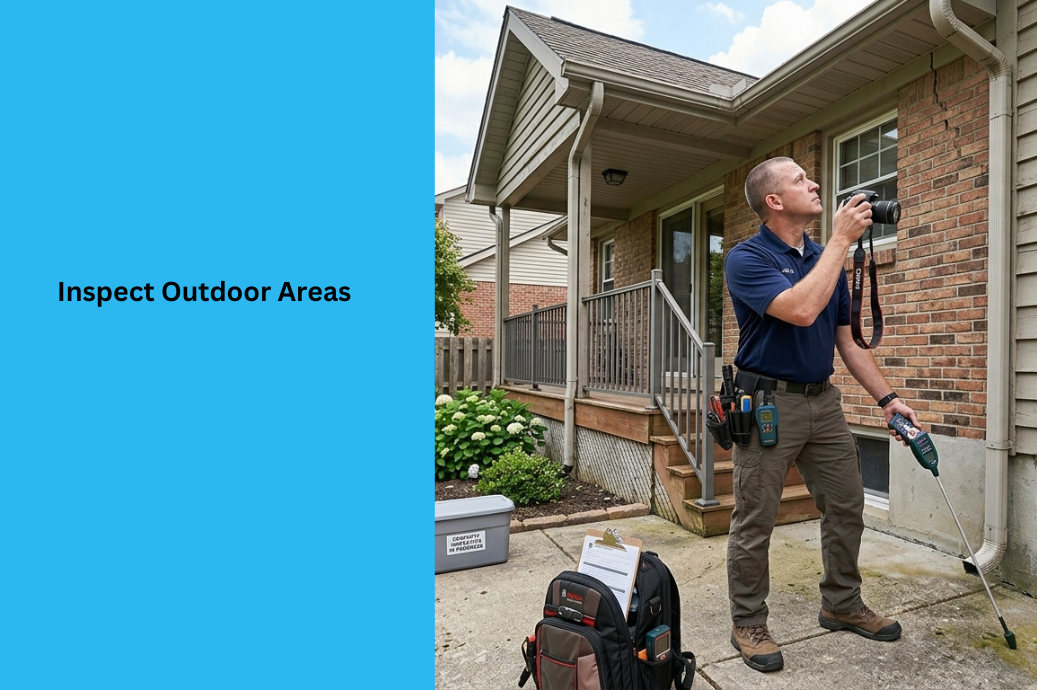
8. Inspect Outdoor Areas
Your pre settlement inspection list should also include external spaces.
Check:
- Fencing condition
- Driveways and pathways
- Garage condition
- Outdoor lighting
- Retaining walls
- Pools or spas
- Garden irrigation systems
If the property has been vacant, outdoor maintenance may have changed significantly since your first inspection.
What Happens if You Find Problems During Pre Settlement Inspection?
Do not panic if you notice issues during the inspection.
Most problems can be resolved before settlement if raised early enough.
Depending on the situation, you may:
- Request repairs
- Negotiate compensation
- Delay settlement temporarily
- Ask for professional servicing
- Seek legal advice through a conveyancer
Never assume issues will “sort themselves out” after settlement.
Once ownership transfers, the responsibility becomes yours.
Common Mistakes Buyers Make During Pre Settlement Inspection
Even experienced buyers can overlook important details.
Avoid these common errors:
- Forgetting to test appliances
- Ignoring outdoor areas
- Rushing the walkthrough
- Assuming repairs were completed properly
- Failing to compare the property with earlier photos
- Not checking the included fixtures carefully
A careful inspection today can prevent major frustration tomorrow.
Final Thoughts
A Pre Settlement Inspection is not just another formality before settlement day. It is your final opportunity to confirm that the property you are purchasing matches the condition and inclusions promised in the contract.
Being thorough, organised, and detail-focused can save you from unexpected repair costs, legal disputes, or settlement delays later on — especially when buyers are making decisions based on a recent house value estimate before finalising the purchase.
If you are planning to buy or sell property and want experienced guidance throughout the process, the team at Wright Way Realty can help. Browse available properties through our For Sale Listings or speak with our team directly here.